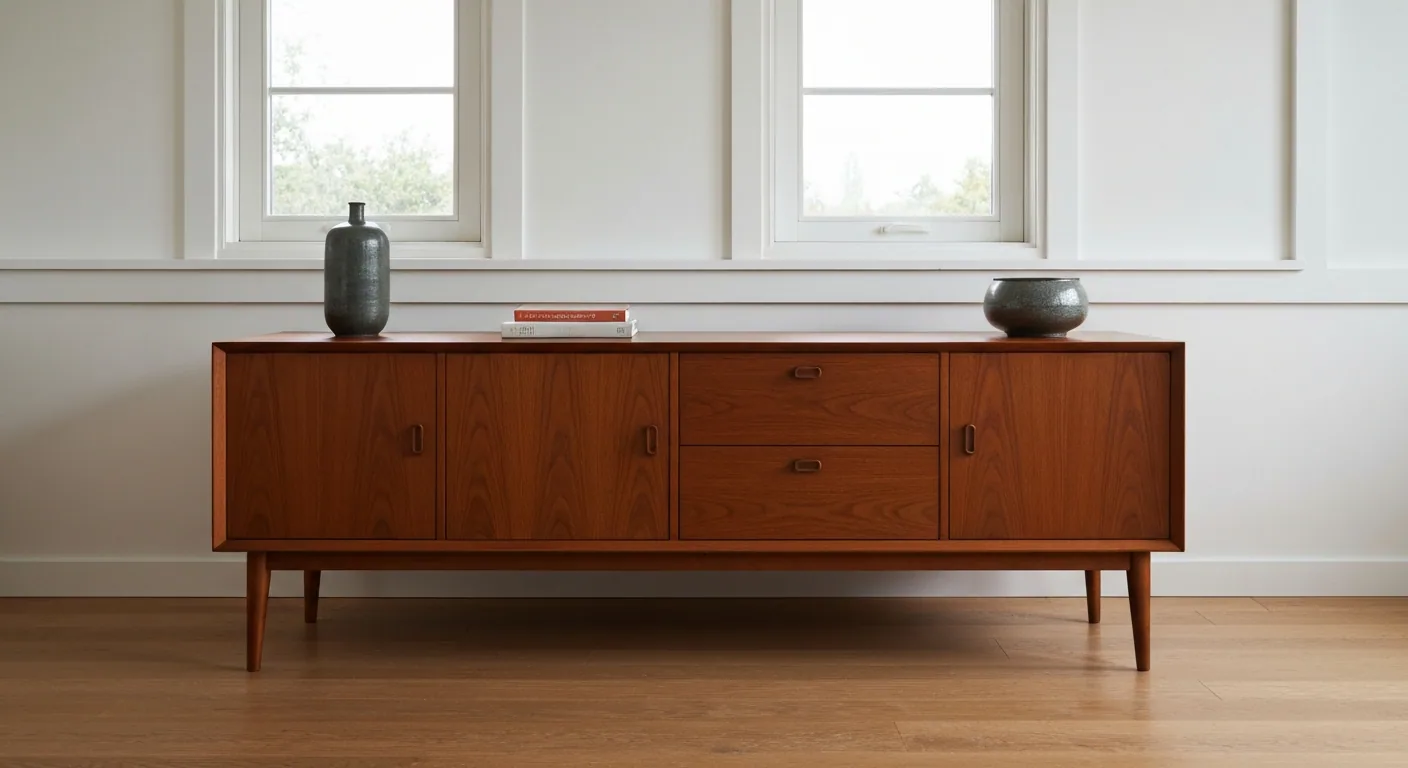
The Mystery and Mastery of Mid-Century Veneer\n\nThere is something undeniably captivating about Mid-Century Modern (MCM) furniture. The clean lines, tapered legs, and warm, amber wood grains of walnut, teak, and rosewood can elevate any living space. However, many DIY enthusiasts shy away from restoring these vintage treasures because of one word: veneer. Unlike solid wood furniture, which can be sanded aggressively, veneer is a paper-thin layer of premium hardwood bonded to a cheaper core material, such as plywood or particleboard. One wrong move with a power sander, and you can burn through that delicate layer, permanently ruining the piece.\n\nRefinishing veneer does not have to be an exercise in anxiety. With the right techniques, patience, and a gentle touch, you can strip away decades of yellowed lacquer, scratches, and water rings to reveal the beautiful, vibrant wood grain hiding underneath. This step-by-step guide will walk you through a weekend project that will transform a tired vintage find into a stunning showroom centerpiece.\n\n## Assessing the Piece Before You Start\n\nBefore you pick up a scraper or buy any materials, you must assess the condition of your furniture. Take a close look at the edges, corners, and flat surfaces of the piece. Look for areas where the veneer might be lifting, bubbling, or completely chipped away. If the veneer is extremely thin or already worn through to the substrate in multiple places, the restoration will require advanced patching techniques, or it might not be a good candidate for stripping at all.\n\nRun your hands across the surface to feel for bubbles. A bubble indicates that the glue holding the veneer to the core has failed over time. If you find small bubbles, they can often be repaired with a syringe of wood glue and a warm household iron, which reactivates the old adhesive. Ensuring the veneer is structurally sound and flat before you begin the chemical stripping process is crucial for a successful finish.\n\n## Gathering Your Weekend Restoration Toolkit\n\nRefinishing veneer requires specific tools designed to protect the thin wood layer from physical damage. Avoid aggressive power tools and heavy-duty abrasives. For this project, you will need to gather the following supplies:\n\n- A chemical paint and varnish stripper (preferably a low-VOC gel or paste formulas)\n- Plastic putty knives and scrapers (do not use metal scrapers, as they will gouge the wood)\n- Mineral spirits or denatured alcohol for neutralizing the stripper\n- Sandpaper in 150-grit and 220-grit\n- A hand-sanding block (never use a random orbital sander on veneer)\n- Color-matched wood filler or a wax repair kit\n- Danish oil, gel stain, or a wipe-on polyurethane finish\n- Clean cotton rags, tack cloths, and high-quality paintbrushes\n- Safety gear, including chemical-resistant gloves, safety goggles, and a respirator\n\n## Step 1: Deep Cleaning the Decades of Grime\n\nVintage furniture has often spent decades collecting wax buildup, polish, dust, and household oils. Attempting to strip or sand a dirty piece will only clog your sandpaper and push grease deeper into the wood grain. Start by giving your piece a thorough, deep clean.\n\nMix a few drops of mild dish soap or a specialized wood cleaner (like Murphy\u2019s Oil Soap) with warm water. Using a microfiber cloth, wipe down the entire piece, taking care not to saturate the wood, as excessive moisture can cause the veneer to swell and lift. For stubborn wax buildup, use a soft cloth dampened with mineral spirits. Wipe the piece dry immediately with a clean towel and allow it to air dry completely for at least an hour before moving to the next step.\n\n## Step 2: Stripping the Old Finish Safely\n\nMany beginner refinishers attempt to remove old finishes entirely by sanding. When dealing with veneer, this is a recipe for disaster. Chemical stripping is actually much safer and gentler on veneer because it does the heavy lifting without removing any of the precious wood fibers.\n\nWorking in a well-ventilated area, apply a thick, even layer of your chosen chemical stripper using an inexpensive paint brush. Do not brush it back and forth; simply lay it down in one direction. Let the stripper sit for the manufacturer-recommended time (usually 15 to 30 minutes) until the old finish begins to bubble and liquefy. Use your plastic scraper to gently push the sludge off the wood. Scraping with the grain of the wood prevents tearing. Wipe the scraped residue onto paper towels, and use a soft brass brush or medium steel wool dipped in mineral spirits to clean out the tight corners and detailed areas.\n\n## Step 3: The Golden Rule of Veneer Sanding\n\nOnce the piece is stripped and clean, you must neutralize the chemical residue. Wipe the entire surface down with mineral spirits or denatured alcohol and let it dry overnight. The next morning, you will likely find that the wood grain feels slightly raised or fuzzy. This is normal and is the only time you should introduce sandpaper to your veneer.\n\nWrap a sheet of 220-grit sandpaper around a soft sanding block. Never use an electric orbital sander; it is simply too powerful and will burn through the veneer in seconds. Sand the surface by hand, using incredibly light pressure and moving strictly in the direction of the wood grain. Sanding across the grain will leave permanent scratches that will show up under your final finish. Stop frequently to wipe away dust and inspect your progress. You only want to sand enough to make the surface feel smooth to the touch.\n\n## Step 4: Repairing Chips and Gouges\n\nMid-century furniture has lived a full life, which often means a few battle scars. If you have small chips or deep scratches in the veneer, now is the time to repair them. For small chips along the edges, a color-matched wood epoxy putty or wood grain filler works wonders.\n\nKnead the epoxy putty until the colors blend, press it firmly into the damaged area, and smooth it out with a damp finger. Allow it to cure completely according to the package instructions. Once hardened, use your 220-grit sandpaper to sand the patch flush with the surrounding veneer. If you plan to stain the piece, ensure you use a stainable wood filler, though keep in mind that fillers rarely take stain exactly the same way as natural wood. You may need to use touch-up markers or colored wax pencils after staining to blend the repair seamlessly.\n\n## Step 5: Toning and Staining for Authentic MCM Glow\n\nMid-century modern furniture is famous for its warm, honey-toned finishes. Walnut and teak naturally have gorgeous undertones, but they often require a bit of help to achieve that classic look. If your stripped wood looks a bit washed out or grey, you can use a toner or a gel stain to restore its warmth.\n\nGel stains sit on top of the wood rather than penetrating deeply, making them highly predictable and excellent for veneer. Apply a thin coat of gel stain with a clean rag, wiping it off almost immediately until you achieve the desired depth of color. If you prefer a more natural, matte finish, bypass stain altogether and use a clear Danish oil. Danish oil penetrates the wood fibers to highlight the natural grain while providing a classic, low-sheen finish that feels like real wood under your fingertips.\n\n## Step 6: Sealing and Protecting Your Masterpiece\n\nTo ensure your hard work lasts for another sixty years, you must apply a protective topcoat. While original mid-century pieces were often finished with sprayed lacquer, a wipe-on polyurethane or a high-quality satin varnish is much easier for a home restorer to apply successfully.\n\nUsing a lint-free cotton rag, apply a thin, even coat of wipe-on polyurethane in the direction of the wood grain. Avoid overlapping strokes too much, as this can cause streaks. Allow the first coat to dry completely (usually 4 to 6 hours). Once dry, run a piece of 400-grit sandpaper or a brown paper bag lightly over the surface to knock down any dust nibs. Wipe the surface clean with a tack cloth, and apply a second coat. Three thin coats of wipe-on polyurethane will provide excellent protection against spills and scratches while maintaining a delicate, natural look that does not look like thick plastic.\n\n## Caring for Your Refinished Mid-Century Modern Furniture\n\nAfter your final coat has dried for at least 48 hours, you can carefully reassemble your furniture, put the hardware back on, and place it in your home. The finish will continue to cure and harden over the next thirty days, so avoid placing heavy items or wet glasses directly on the surface during this time.\n\nTo keep your restored veneer looking pristine, skip the commercial aerosol dust sprays, which often contain silicone that can damage the finish over time. Instead, simply dust the piece with a dry microfiber cloth, or use a slightly damp cloth for spills. By respecting the limits of the veneer and taking your time through each step of the restoration process, you can preserve a beautiful piece of design history and enjoy a stunning, self-restored heirloom for decades to come.